Risify’s AI Agent is an AI-powered content assistant built for Shopify merchants. It generates product descriptions, blog posts, meta tags, collection texts, and other marketing copy, all written in your brand’s unique voice.
Before the AI Agent creates any content, it walks you through a short onboarding process where you define your brand voice, audience, business model, and content priorities. This information becomes your Growth Profile, which the agent uses to tailor every piece of content it produces.
The setup takes about 3 minutes and happens entirely inside your Shopify admin.
What You Can Do With the AI Agent
- Generate content in your brand voice: Product descriptions, collection texts, blog posts, meta tags, FAQ content, homepage copy, and more.
- Train the AI on your tone: Choose up to 3 tone-of-voice styles and reference brands you admire so the AI understands how you want to sound.
- Deploy directly to your store: Content integrates with your Shopify store, so you can publish without switching tools.
- Edit and retrain anytime: Your Growth Profile can be updated at any time to adjust the AI’s output as your brand evolves.
How to Set Up the AI Agent
The onboarding process has 8 steps. Each step helps the AI Agent understand a different part of your brand. You can review and edit everything at the end before finishing.
Step 1: Choose Your Brand Voice
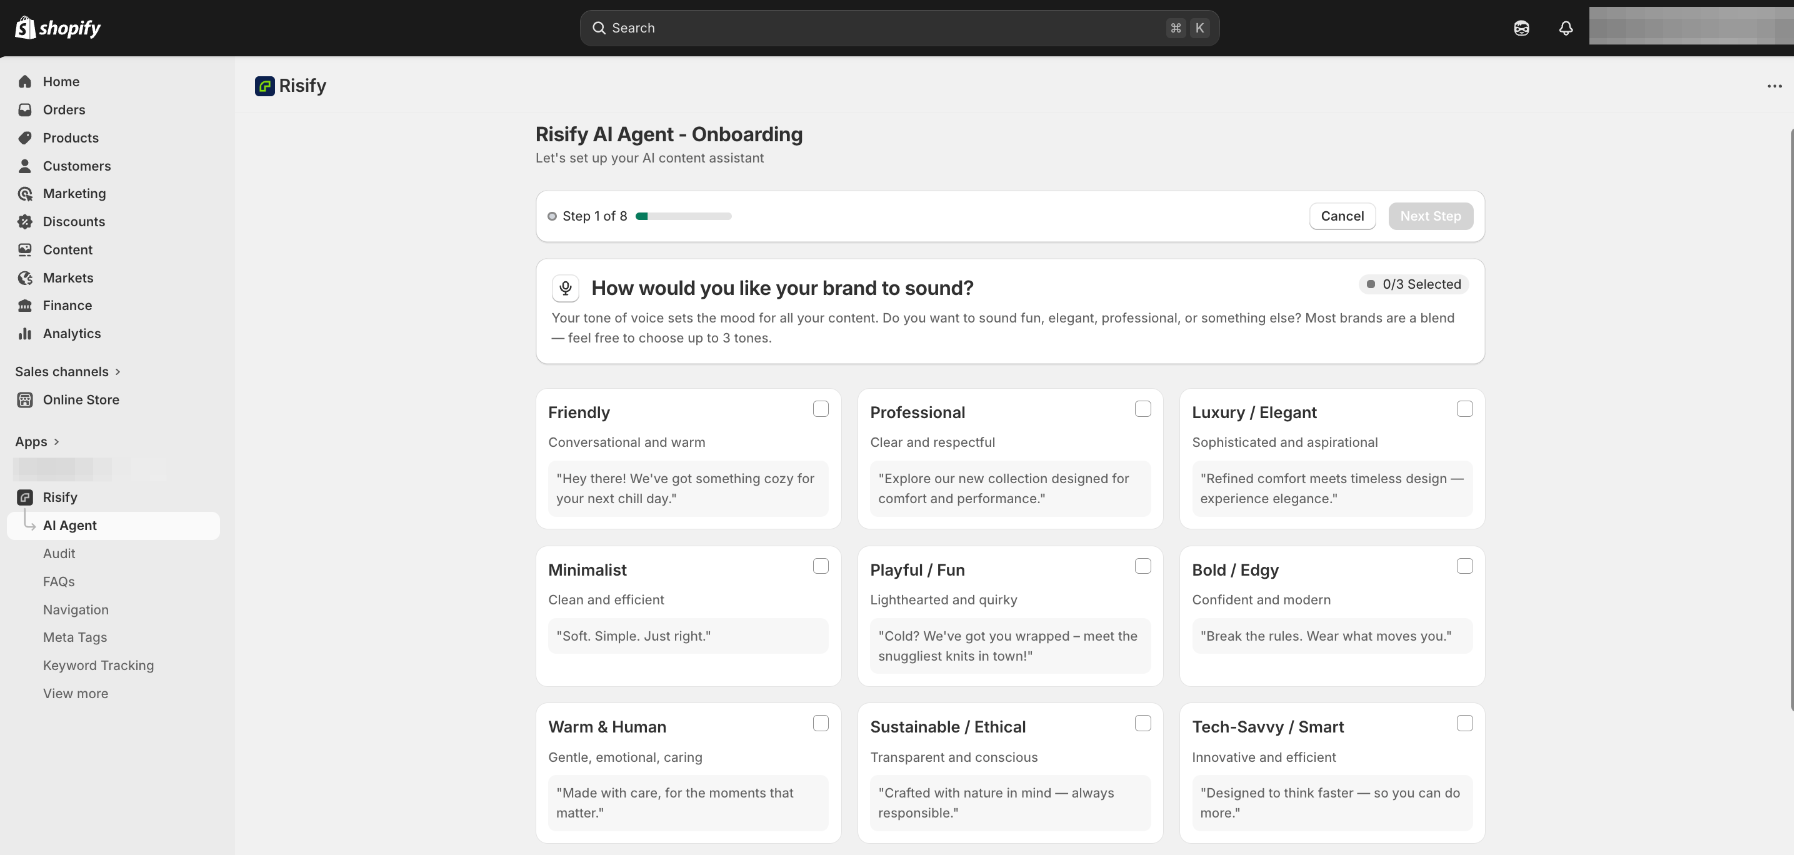
Select up to 3 tones that describe how you want your brand to sound. Your tone of voice sets the mood for all content the AI Agent creates. Most brands are a blend, so pick the combination that feels right.
The available tone options are:
- Friendly: Conversational and warm.
- Professional: Clear and respectful.
- Luxury / Elegant: Sophisticated and aspirational.
- Minimalist: Clean and efficient.
- Playful / Fun: Lighthearted and quirky.
- Bold / Edgy: Confident and modern.
- Warm & Human: Gentle, emotional, and caring.
- Sustainable / Ethical: Transparent and conscious.
- Tech-Savvy / Smart: Innovative and efficient.
- Empowering: Uplifting and motivating.
- Classic / Heritage: Traditional and rooted in trust.
- Creative / Artistic: Expressive and visual.
- No-nonsense: Straightforward and practical.
Each option includes an example sentence so you can hear the difference before selecting.
Step 2: Pick Brand References

Select up to 3 brands whose tone you admire or want to sound like. This helps the AI Agent understand the communication style you are aiming for. The brands do not need to be in your industry, it is about how they sound, not what they sell.
You can also add an optional note explaining what you like about their tone, which gives the AI Agent more context.
Step 3: Describe Your Business Model
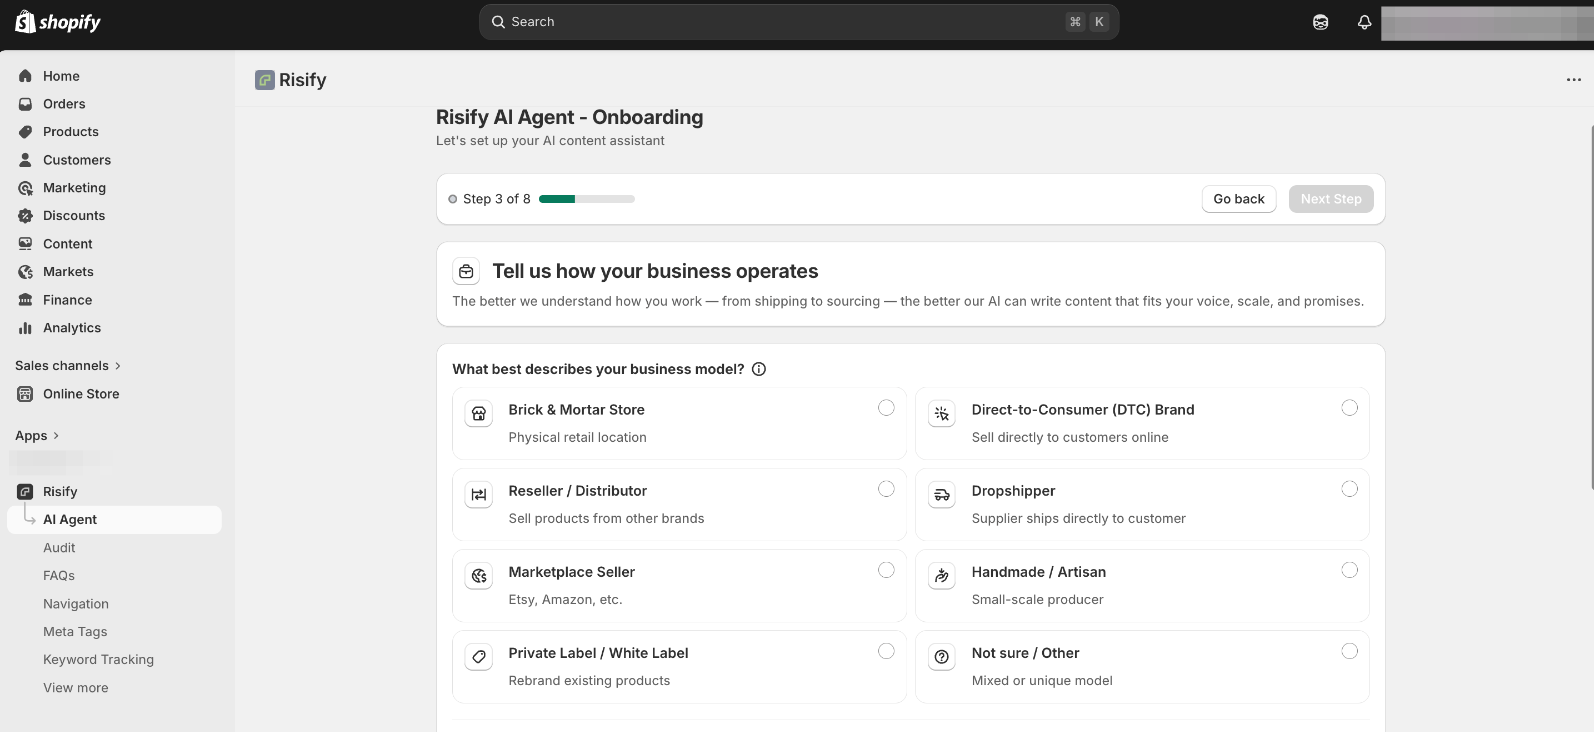
Tell the AI Agent how your business operates. The better it understands your setup, the more accurate and relevant the content it produces.
You will answer three questions:
- Business type: Choose from options like Direct-to-Consumer, Brick & Mortar, Reseller, Dropshipper, Marketplace Seller, Handmade/Artisan, Private Label, or Other.
- Physical presence: Indicate whether you have a physical store or showroom, or are online only.
- Order fulfillment: Select how you fulfill orders, own warehouse, fulfillment partner (3PL), dropshipping, made to order, or a mix.
You will also describe your product sourcing: whether you design and manufacture in-house, work with manufacturing partners, curate from suppliers, use print-on-demand, or a combination.
Step 4: Define Your Target Audience
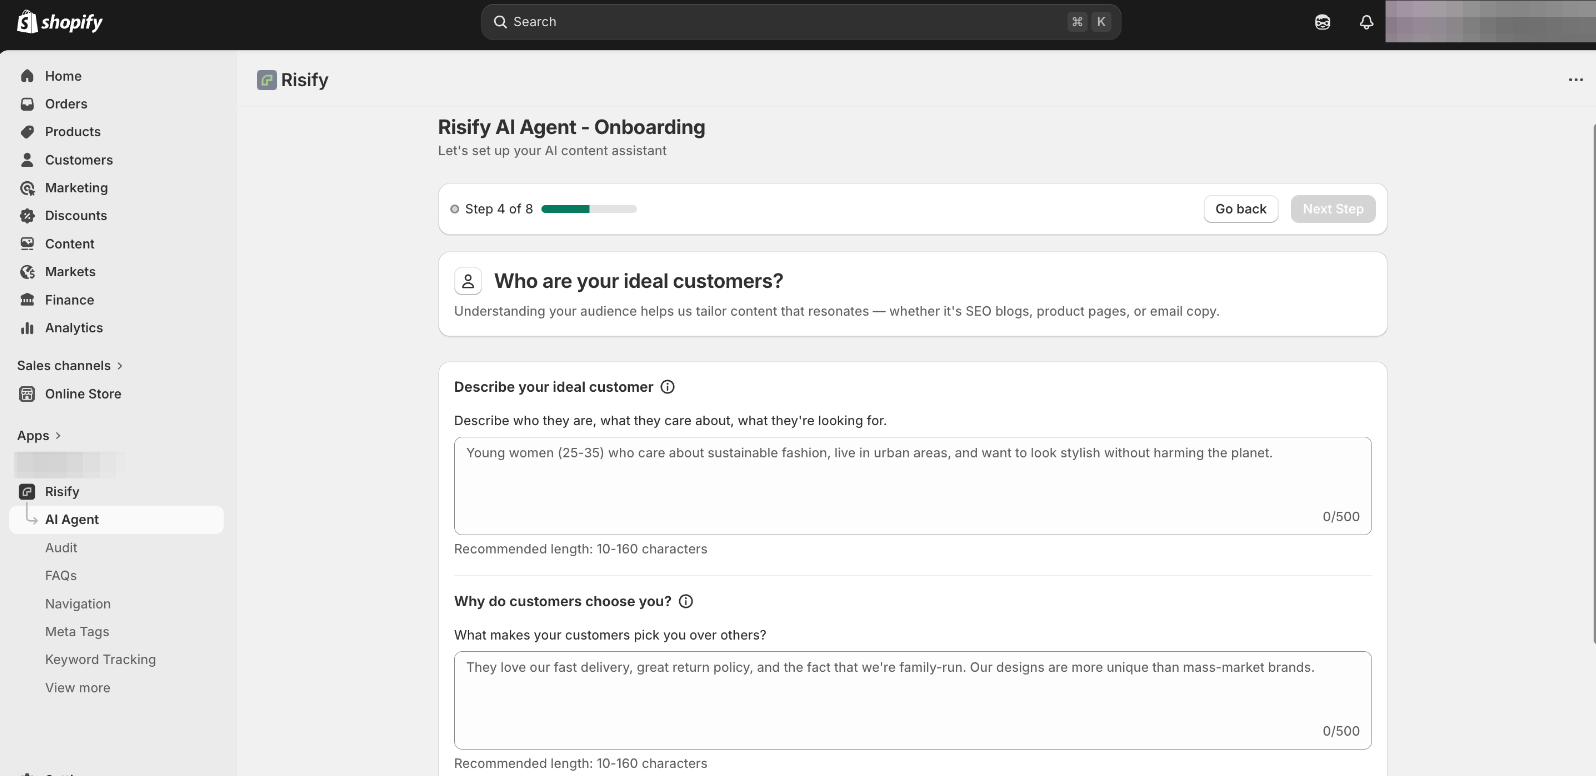
Describe who your ideal customers are, what they care about, and what they are looking for. This helps the AI Agent tailor content that resonates with the right people.
You will fill in two text fields:
- Describe your ideal customer: Who they are, what matters to them, and what they are shopping for.
- Why customers choose you: What makes people pick your store over alternatives.
Then choose up to 3 customer motivations from options like quality and durability, personal style, brand reputation, price and affordability, health and wellness, sustainability, performance, customization, convenience, support and trust, or social validation.
Step 5: Set Your Brand Pillars
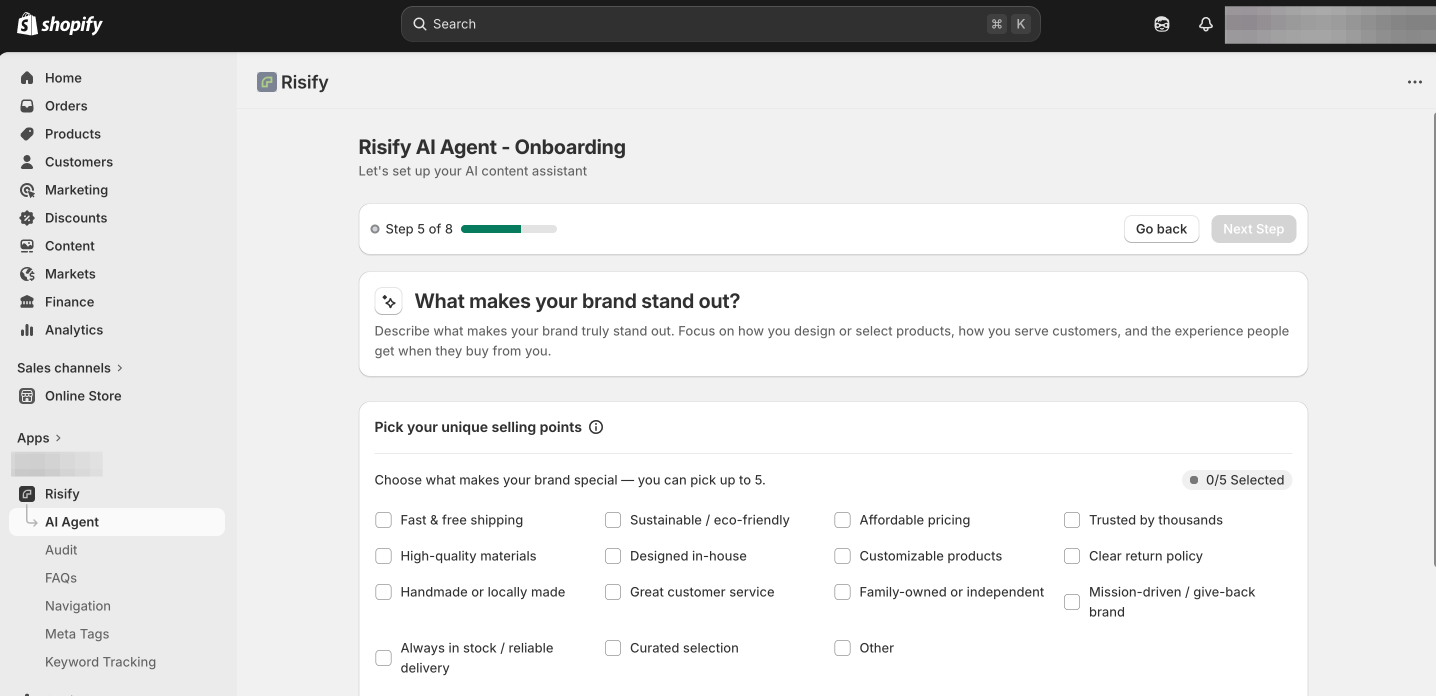
This step captures what makes your brand stand out and the values that guide it.
First, pick up to 5 unique selling points from a list that includes options like fast and free shipping, sustainable/eco-friendly, affordable pricing, high-quality materials, designed in-house, customizable products, clear return policy, handmade or locally made, great customer service, family-owned, mission-driven, always in stock, curated selection, and more.
Then describe your brand’s mission and values in a short text field. This gives the AI Agent a deeper understanding of your brand’s purpose beyond just what you sell.
Step 6: Choose Your Product Focus
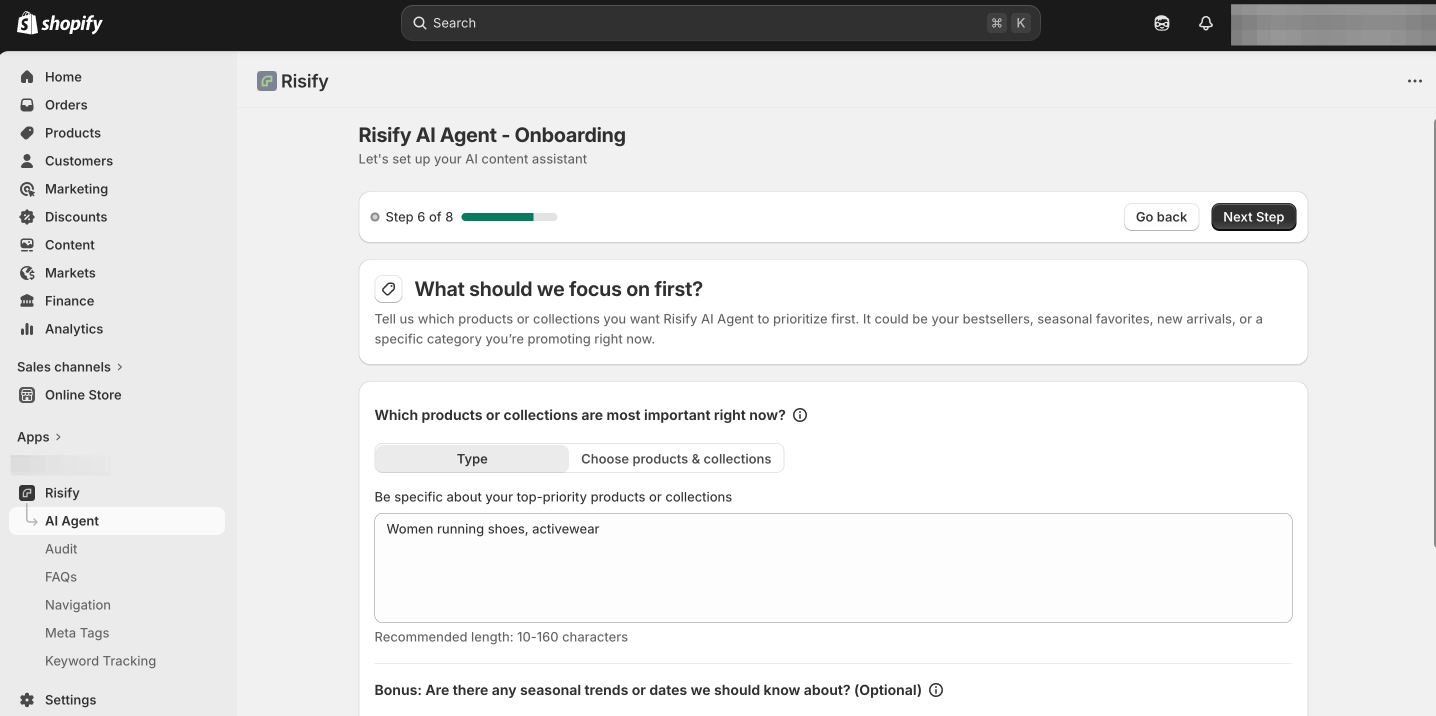
Tell the AI Agent which products or collections to prioritize first. This could be your bestsellers, seasonal favorites, new arrivals, or a specific category you are promoting.
Select specific products or collections from your store and add a short description of why they are a priority right now.
You can also mention any seasonal trends or important dates (like a holiday launch or sale period) so the AI Agent factors timing into its content.
Step 7: Set Your Content Preferences
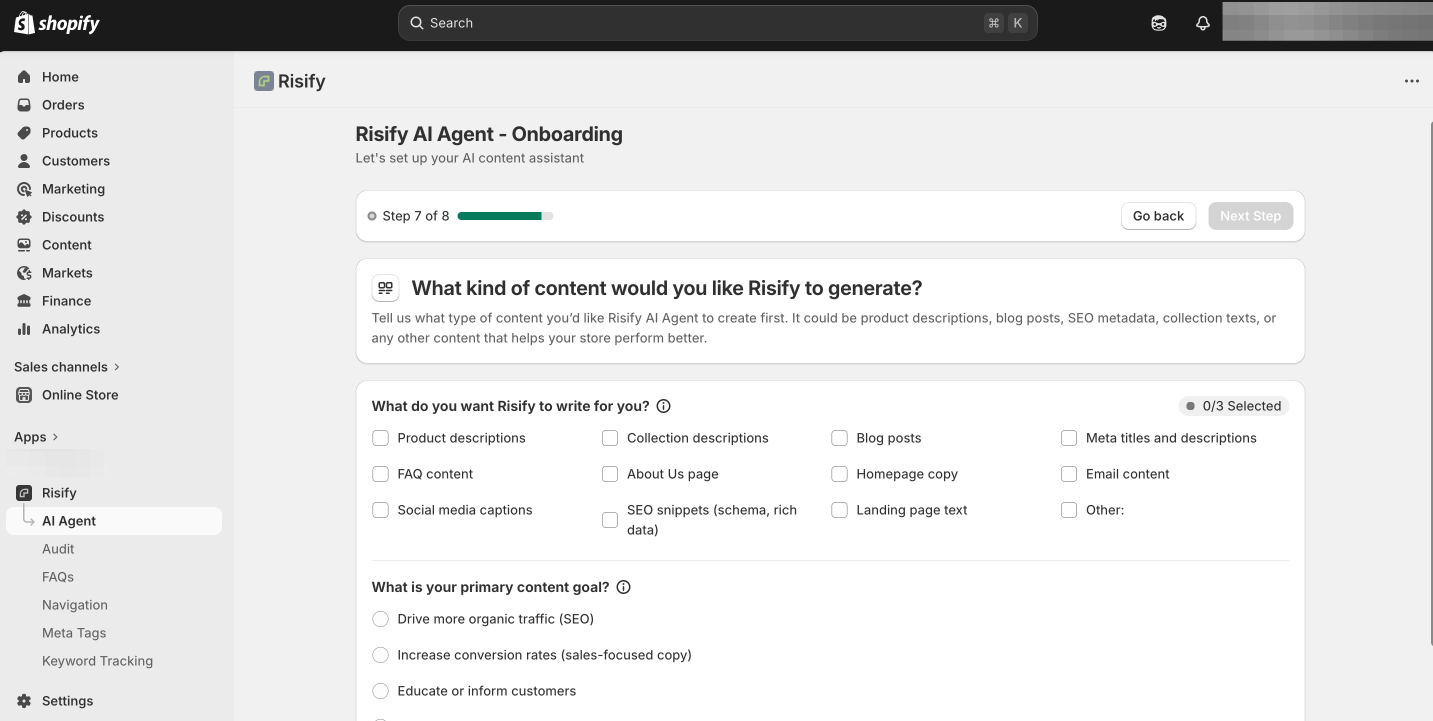
Tell the AI Agent what kind of content you want it to create first. Choose up to 3 content types from:
- Product descriptions
- Collection descriptions
- Blog posts
- Meta titles and descriptions
- FAQ content
- About Us page
- Homepage copy
- Email content
- Social media captions
- SEO snippets (schema, rich data)
- Landing page text
Then select your primary content goal:
- Drive more organic traffic (SEO-focused)
- Increase conversion rates (sales-focused copy)
- Educate or inform customers
- Support branding and storytelling
- A mix of all
Step 8: Review Your Growth Profile
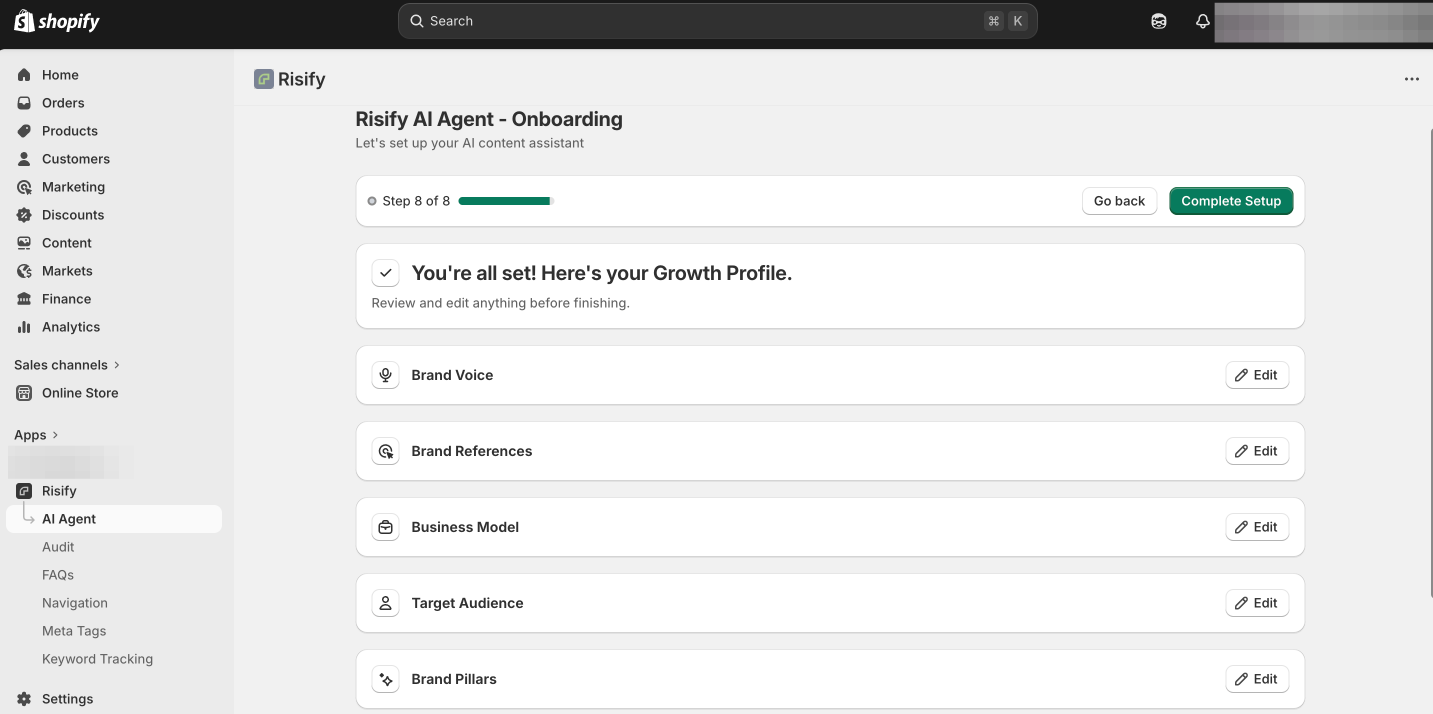
Before finishing, you will see a summary of everything you entered: Brand Voice, Brand References, Business Model, Target Audience, Brand Pillars, Product Focus, and Content Preferences.
Review each section and edit anything that needs adjusting. When everything looks right, confirm to complete the setup.
Your AI Agent Dashboard
After completing the onboarding, you will land on the AI Agent dashboard. This is your central hub for managing the AI Agent and reviewing your brand profile.
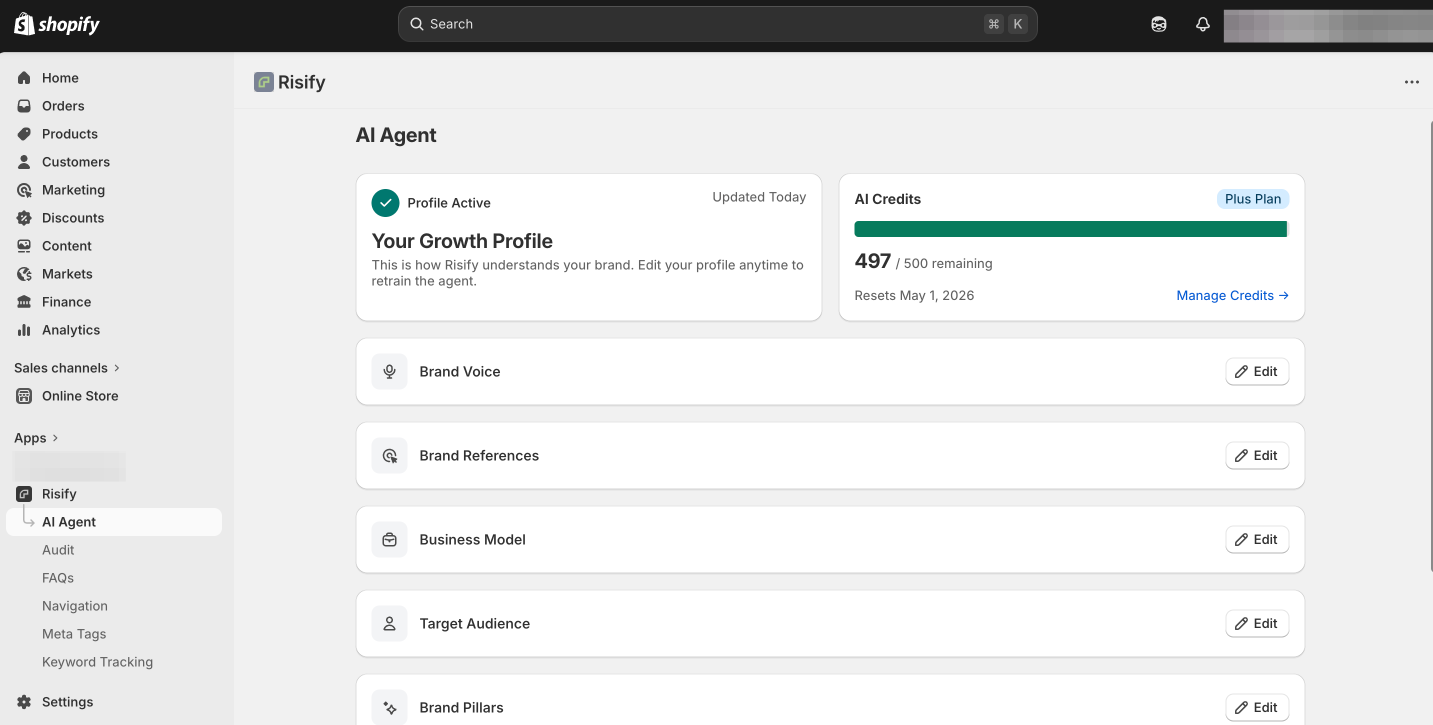
The dashboard shows:
- Growth Profile: A summary of how Risify understands your brand. You can review and edit each section (Brand Voice, Brand References, Business Model, Target Audience, Brand Pillars, Product Focus, Content Preferences) at any time to retrain the agent.
- AI Credits: Your current credit balance, usage, and reset date. Credits are tied to your Risify plan and reset monthly.
Editing your Growth Profile updates how the AI Agent generates content going forward. This means you can refine your brand voice, shift product priorities, or adjust your audience description as your business evolves, without going through the full onboarding again.
Summary
Risify’s AI Agent generates content tailored to your brand by learning from a Growth Profile you build during a short onboarding process. You define your tone, audience, business model, brand pillars, product priorities, and content goals, and the AI uses all of this to write in your voice.
Once set up, the dashboard gives you full control over your profile and credits. You can retrain the agent at any time by editing your preferences, so the content stays aligned with your brand as it grows.